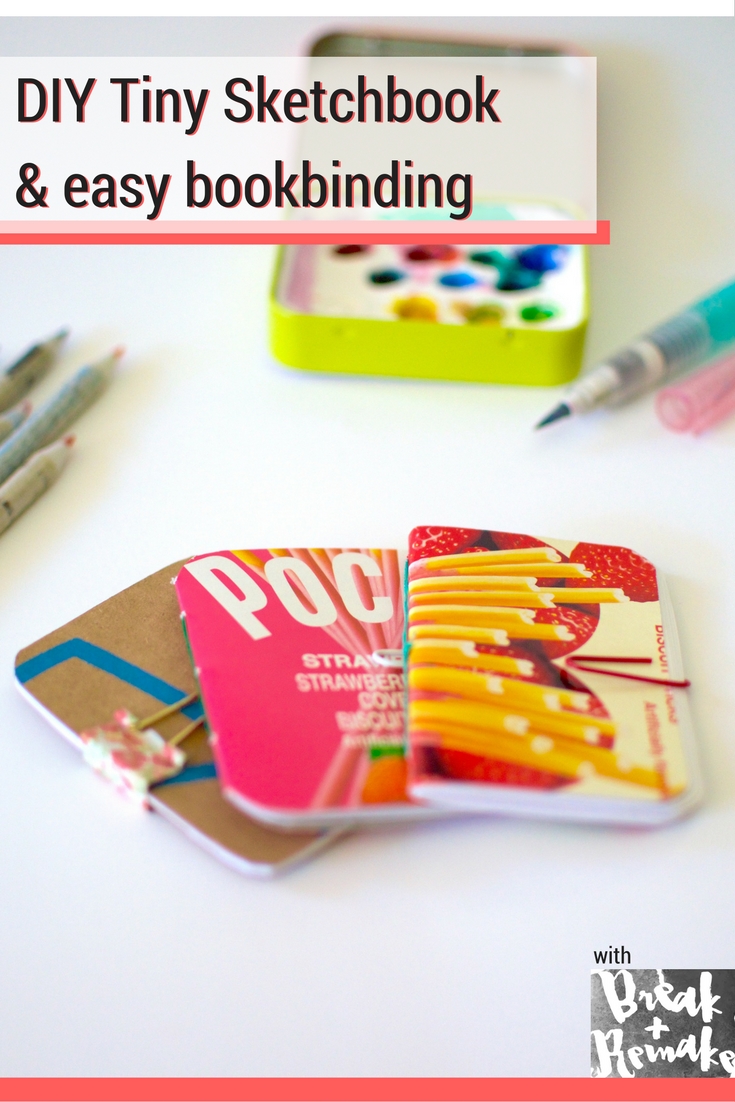
Make this tiny sketchbook to go with your traveling watercolor tin! This project also has really easy bookbinding tricks, for a simple and cute traveling artist kit.
Materials:
Scissors: http://amzn.to/2d5k2o8
Watercolor tin
Pencil or pen
Sturdy cover material
Binder clip
Large needles: http://amzn.to/2dAGE4W
Pliers - possibly: http://amzn.to/2dPWJTi
Tiny sketchbook with easy bookbinding instructions
This is the cutest water color palette you will ever see. It's so easy to make and super portable. Make it out of any mint tin or thing you have around that closes nicely. And it helps to check if your watercolors will rewet after they have dried. Becuase I didn't and just got lucky. A-whoops!
Materials:
Water Color Tubes: http://amzn.to/2ck77OF
Rubbing alcohol: http://amzn.to/2cn3glc
Cloth for alcohol
Air dry clay: http://amzn.to/2ch9Spo
Mint tins
OodleBaDoodle is a sustainable business that makes super cute pillows and home decor. Rebecca makes everything with reclaimed materials. She was kind enough to open her studio to me and let me ask her tons of questions.
Rebecca shared with us the ups and downs of her sustainable business and where she sources some of her materials. Check out Fab Mo in Mountain View, Ca, one of the resources she recommends.
Check out her work: https://www.etsy.com/shop/OodleBaDoodle
This thrifted rehab has been sitting in my To-Do pile for so long that I decided to make it into an episode. The picture had some water damage, so it needed a new back. I tried to put the picture in a new frame, but the frame was too small! Boo! But the original frame is cute, so it's not a total wash. Let me know you have any projects that have been sitting around.
Materials:
Thrifted picture
New frame (possibly)
Acid free backing board - I used heavy weight drawing boards from the art store
Ruler
Writing utensil
Cutting tool
Acid free tape
Pliers
You may need different supplies depending on how much is going on behind your picture once you open it up!
Did you make something from Break + Remake? Show me on Facebook or Instagram!
This shaving cream is an easy beauty DIY, it's fun and you can do it right in your kitchen. Bonus: it's super healthy. I've used mine 2 times now, and it makes my legs feel amazing. I do need to soap my pits after using it, because it does feel super slick up in there but after I do it feels so nice.
Materials: Castile Soap Coconut Oil Almond Oil Shea Butter Healing Clay* this is optional
Jars - use upcycled jam jars
Mixer - we are using food safe everything, so mix with what you have
Double boiler - again, we are using food safe items, so use what you have
Full recipe:
1/3 Cup Shea butter
1/3 Cup Coconut oil
2 Tablespoons sweet almond oil
2 Tablespoons Lavender liquid castile soap
1 Teaspoon Healing Clay
Heat the oils in a double boiler until all melted.
Add clay and soap and mix until dissolved.
Cool in fridge for about 20-30 minutes. We ended up cooling it for 30.
Whip it! And once it's frothy add to your little jars.
There are other natural saving creams that I want to try out, are there any beauty DIYs you want me to try? Let me know in the comments
Hand sewing is my favorite type of sewing. So it makes total sense for me to want to have my hand sewing needles out, easy to grab and in something cute. This cork needle holder will be a cute place for all your hand sewing needles to live. The corks are hearty, so just from using it with hand sewing needles I won't be putting my beading and more delicate needles into the cork.
I used a thrifted picture frame and corks from my friends. Everyone around me knows to save their corks!
Some corks felt softer and easier to cut. So if you don't have mighty fingers cut a little bit of the cork and you'll be able to feel if it's a softy. Softies were easier to jab my needles into as well.
Materials:
Corks
Picture frame
Cutting tool
Backing board
Ruler
Scissors
Glue gun
Pot to boil/steam the corks
Did you make something from Break + Remake? Show me on Facebook or Instagram!
I had so much fun visiting and chatting with Lisa from The Long Beach Depot for Creative ReUse. She is not only a passionate upcycler, but a wonderful recourse for artists. She loves to connect people and projects. If you are ever in Long Beach, California check out her store. This place is an eco-artist, recyclers'/upcyclers' dream. There are bins of crayons, beads, buttons, embroidery floss. And there are things you didn't know you needed to make something out of- computer bits, sample tiles. All bunched up in this lovely store.
If you want to help the store: Call Lisa! She'll let you know when the store is ready to take more items or what they need. She sorts everything by hand, so drop offs are by appointment only.
I came away with some cool trinkets for future episodes and a cat toy made by one of her featured artists.
A big thank you to Nik from Wasting Thyme for helping out with the shooting and hand modeling.